A short instruction.
How to create, save and load in, a self-made brush, for sculpting or texturing in Blender.
1.How to created a new brush.
-First you need to go to the Sculpt Mode.
– Unlink the data block or click on the plus button to create a new brush
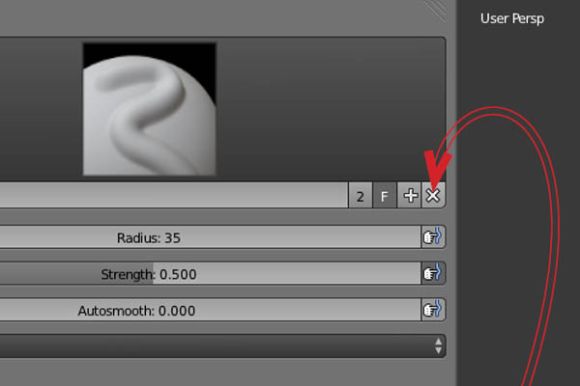
-Give your brush a unique name and start your settings.
2.How to save your brush.
-Simply save your blend-file, the brush will packed into the brush subfolder
3.How to load in your brush.
– Open a new blend-file, then click on Append, now search for the
blend-file where you have saved your brush into.
-In this case I named the blend-file “My Brush”
–You open the subfolders by clicking on it, choose the brush-folder
-In the brush-folder you will find your brush, click on it
– finally click on the Append from Library button to load your brush into your blend-file
-Now you will find your brush with all the settings and textures you have adjusted in the brush selection menu.
So you can start a big self-made brush collection in one blend file for sculpting or texturing in Blender :)